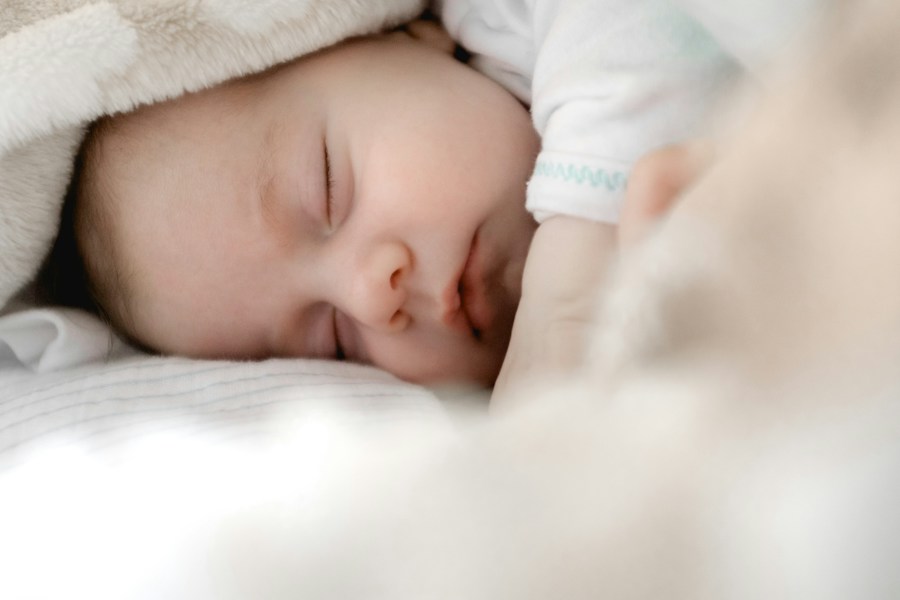

The Frustration of Indoor Baby Photography
We’ve all been there. You just dressed your little one in the most adorable outfit. They are in a fantastic mood, flashing you that gummy, million-dollar smile. You pull out your camera, snap a dozen photos, and rush to look at them. But instead of a magazine-worthy portrait, the photo is blurry, the skin tone looks oddly yellow, and heavy shadows are cast across their eyes.
What went wrong? The answer is almost always lighting. When it comes to DIY indoor baby photography, whether you are reading our guide on using a smartphone vs a DSLR, the fundamental truth remains the same: light is the absolute most important element to master.
The good news? You don’t need expensive studio strobes, fancy umbrella lights, or professional training to capture breathtaking photos. You just need to know how to harness the single greatest (and free) light source available to you: the windows in your home.
Why Natural Light Beats the Flash Every Time
You might be tempted to just turn on your camera’s flash when shooting indoors. Resist that urge! Direct, on-camera flash is incredibly harsh. It flattens the natural contours of your baby’s face, creates harsh red-eye effects, and worst of all, it can startle them and ruin a perfectly calm mood.
Natural window light, on the other hand, wraps around your baby. It creates soft, beautiful transitions between highlights and shadows. It makes their skin look smooth, creamy, and angelic. When you enter a photo contest, voters naturally gravitate toward photos that feel warm and authentic, and natural light is the secret ingredient to that warmth.
Finding the “Good” Window in Your House
Not all windows are created equal. Take a walk around your house tomorrow and pay attention to how the light enters different rooms.
- North and South-Facing Windows: These are your goldmines. They generally provide soft, indirect sunlight all day long. You won’t get harsh, direct sunbeams blasting into the room, meaning you can shoot comfortably at almost any time of day.
- East-Facing Windows: These get direct, intense light in the morning. If you want to use an east-facing window, wait until the afternoon when the sun has moved over the house, leaving you with beautiful ambient light.
- West-Facing Windows: These get blasted with direct light in the late afternoon and evening. Use these in the morning for the softest effect.
The Shower Curtain Trick for Harsh Sun
What if your only good, uncluttered room has direct sunlight pouring in, creating harsh shadows that look terrible on your baby’s face? Don’t panic. You just need to diffuse the light.
Professional photographers use expensive diffusion panels, but you can achieve the exact same look for under ten dollars. Pick up a cheap, frosted white plastic shower liner or a sheer white curtain. Tack it up over the window. Instantly, that harsh, blinding sunlight will scatter, filling the room with a massive, soft glow. It essentially turns your window into a giant professional softbox.
The 45-Degree Rule (And Avoiding “Monster” Lighting)
Where you place your baby in relation to the window dictates the entire mood of the photo.
The Golden Rule: Never light a baby from below their chin. If the light source is hitting the bottom of their nose and chin first, it creates “monster” or “campfire” lighting. It looks incredibly unnatural and unflattering.
Instead, lay your baby down or sit them up so that the light from the window hits them from a 45-degree angle to 90-degree angle, coming down from the top of their head. This allows the light to wash softly over their forehead, illuminate their eyes, and let soft, natural shadows fall beneath their nose and chin.
To capture the best natural window light baby photos, make sure you pair this excellent lighting setup with an uncluttered background. For ideas, check out our guide on the top DIY indoor backgrounds for baby photos.
Kill the Overhead Lights
This is a mistake almost every parent makes. You find a great window, but you feel like the room is still a bit dark, so you flick on the bedroom ceiling fan light or a bedside lamp.
Stop! Turn off every artificial light in the room.
Why? Because standard household lightbulbs cast an orange or yellow tint, while natural window light is slightly blue/white. If you mix the two, your camera’s sensor gets confused. One side of your baby’s face will look blue, and the other side will look sick and yellow. By turning off the overhead lamps, you ensure a clean, consistent, beautiful skin tone.
Look for the Catchlights
Have you ever looked at a professional baby portrait and noticed that the baby’s eyes seem to sparkle with life? That sparkle is called a “catchlight.” It’s simply the reflection of the window in the baby’s eyes.
To get beautiful catchlights, make sure your baby’s face is angled slightly toward the light source. If their eyes look dark and hollow, they are probably facing too far away from the window. Just a slight tilt of their chin toward the glass will bring those beautiful eyes to life.
Safety First, Always
When you are setting up your perfect lighting space, always prioritize your child’s safety. If you are placing a blanket near a window, ensure there are no blind cords dangling within reach. If you are bringing in items to create visual interest, always stick to safe, creative props meant for baby photoshoots.
Practice Makes Perfect
Mastering window light won’t happen overnight, but once you train your eye to see how light falls across a room, you will never look at photography the same way again. Start paying attention to the shadows in your house. Take test shots. And most importantly, have fun with your baby. The best light in the world can’t make up for a stressful environment, so keep things light, playful, and relaxed. You’ve got this!